Hello! I am new to blogging but wanted an outlet to share my love and passion for home decoration, especially DIY projects! I am a mother of two beautiful boys; Aidan, 11 and Jackson, almost 2! When I am not spending time with my little ones or working I enjoy creating inspiration around the house. I enjoy doing projects because the possibilities are endless and if it doesn’t come out the way I envisioned then I learn from that project and either improve it or move on to the next! With a highly energetic toddler running around I find it to be relaxing to be able to dive into my passion while he is napping. So here it goes! I plan to share weekly projects with you all and hope that you can find inspiration from my projects to do your own! Try them out! The thought is often scarier and more overwhelming than actually doing it! If I can do it, trust me anyone can!
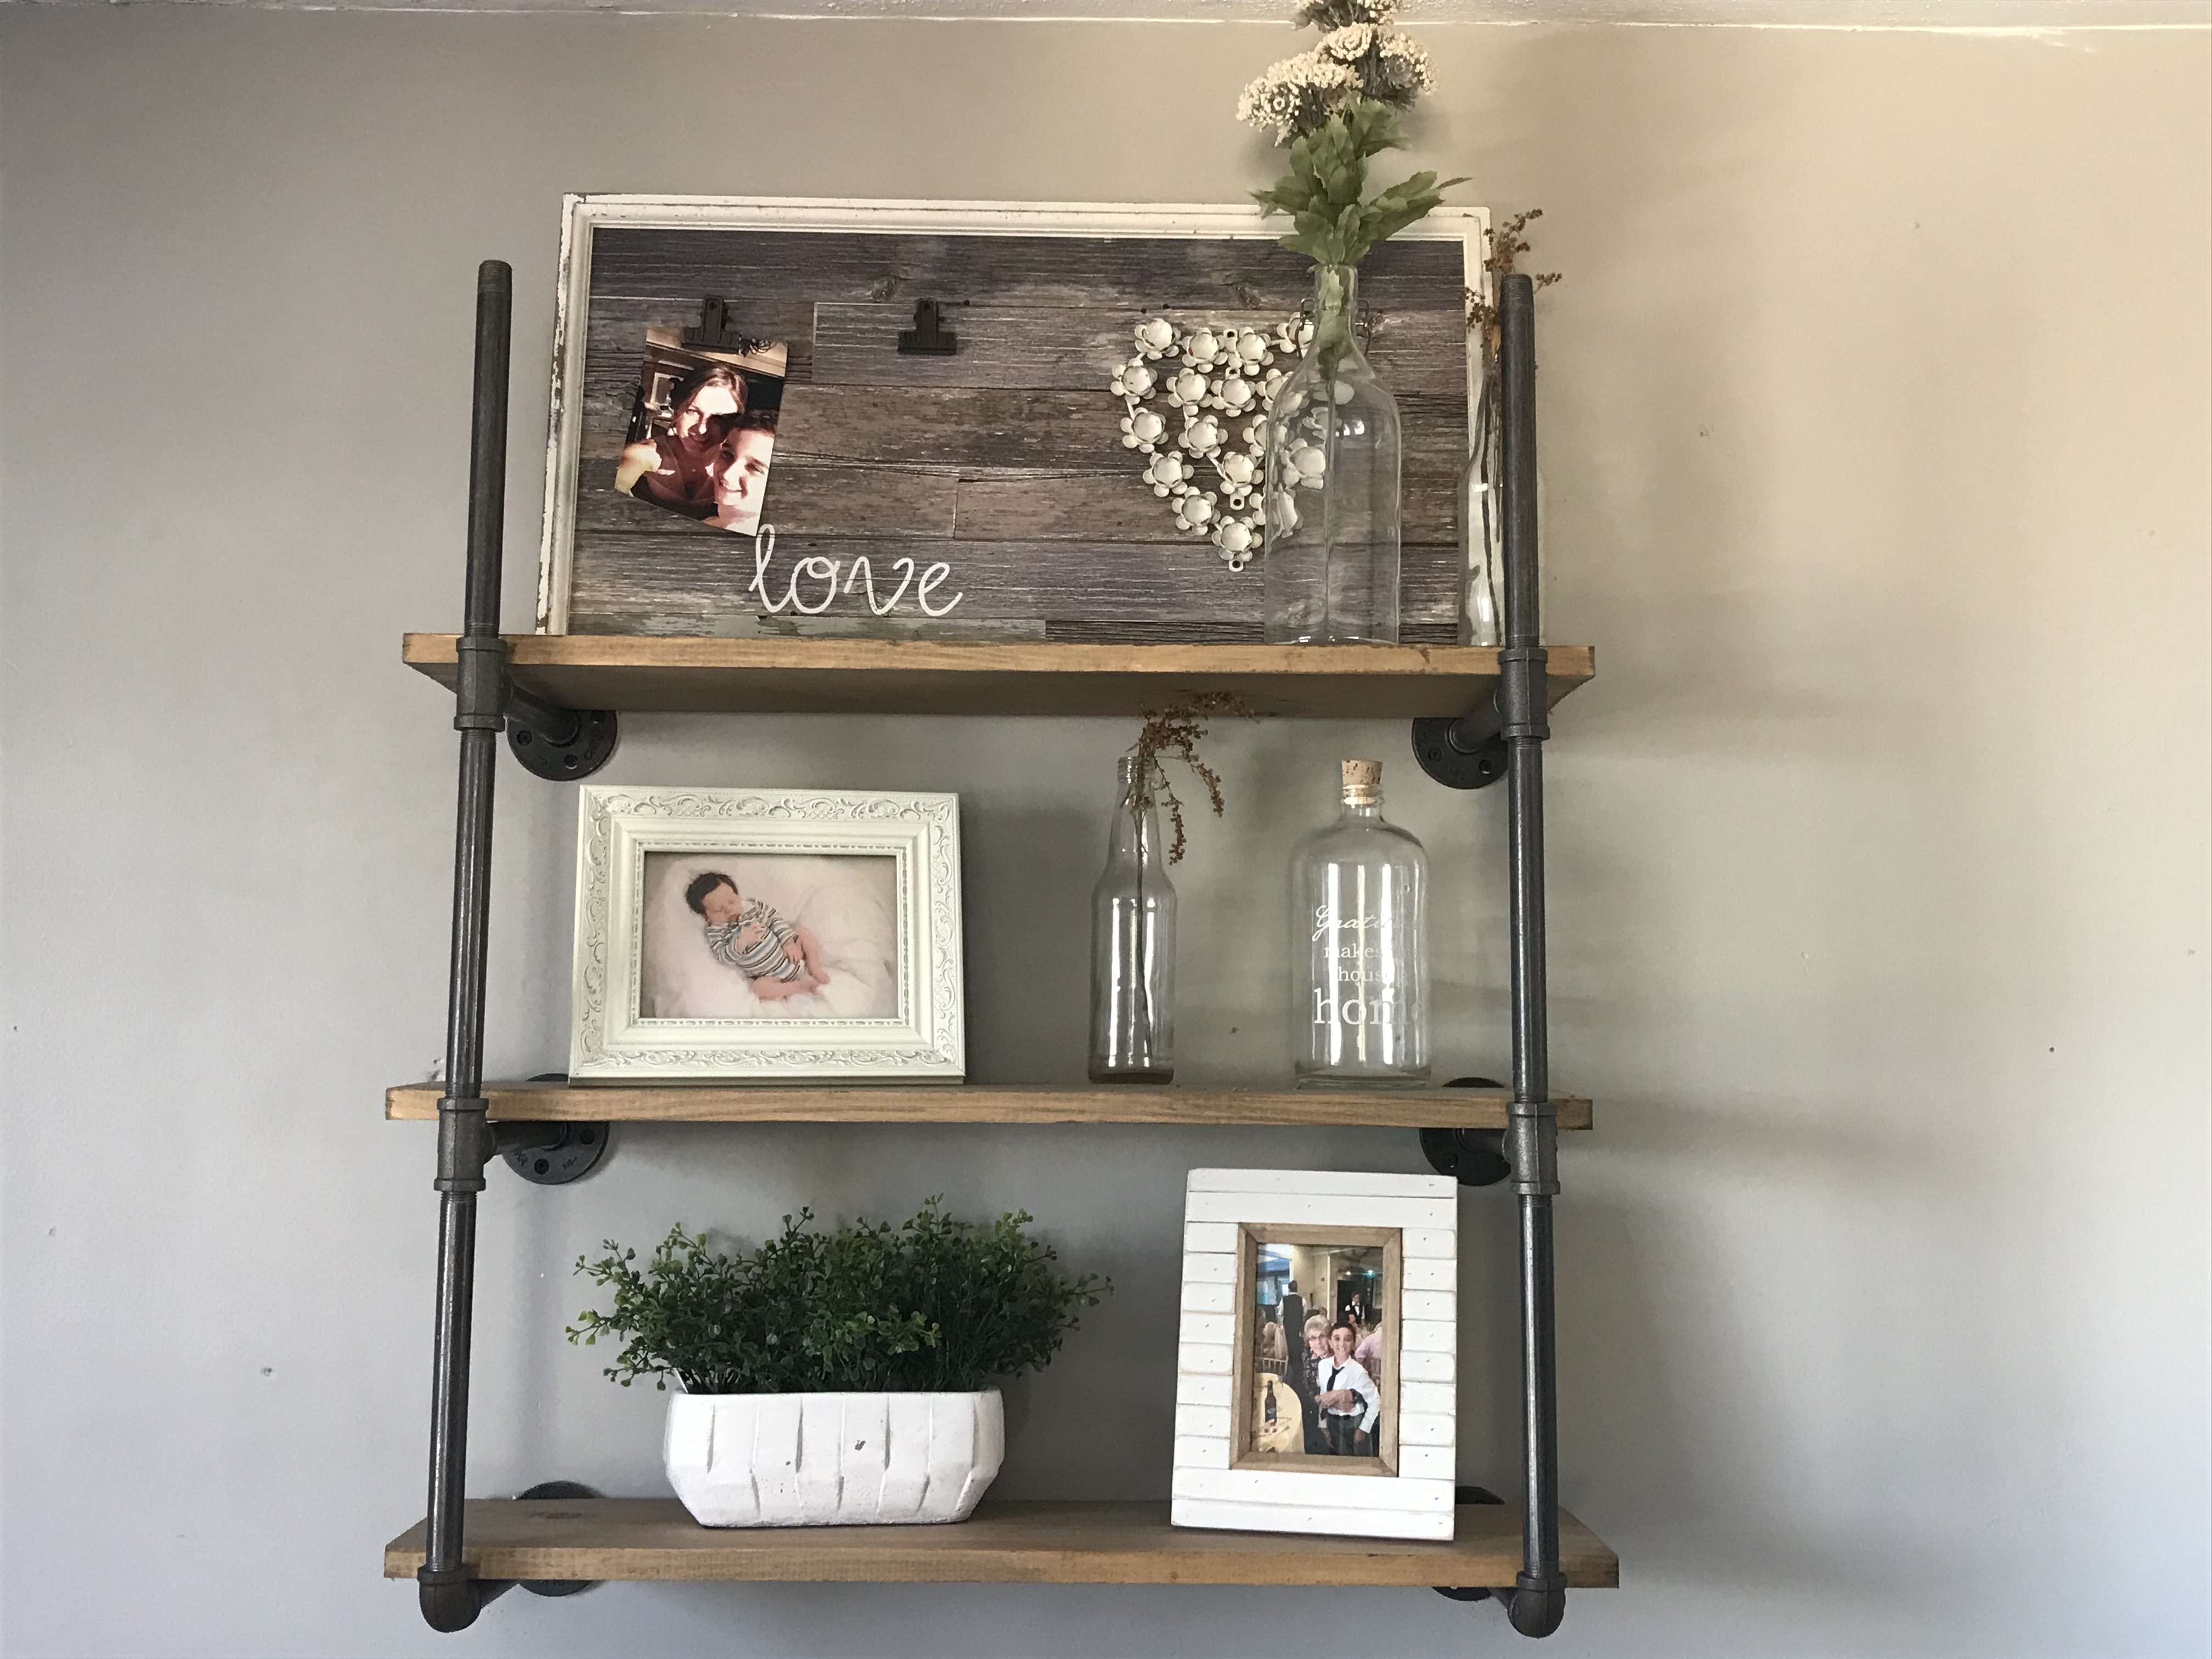
First up! The Farmhouse Pipe inspired shelf. As you get to know me, you will quickly find out that I have been inspired by Joanna Gaines, as I know many others are as well. This was one of my first DIY projects. When I saw this shelving in one the Fixer Upper episodes I knew I just had to have it! But quickly I found out how expensive it was to buy the shelving already made. So here I went, to my very first DIY project!
To get this look it’s very simple! Here’s what you need:
3/4 Pine Board- I used 7 Inches Wide board and cut it into 30 Inches Long Decorative Pipe **A lot of people make the mistake of buying actual piping but they sell the decorative pipes that have the same look and feel. I got mine from Home Depot but you can also order it from Amazon. Stain– Any color stain of your preference- can also be purchased at Home Depot Sandpaper
The folks at Home Depot were great! I went in with the measurements that I needed and they cut the wood for me so all I had to do was go home and sand the edges down and stain it! I sanded both ends of the wood- since the wood was cut it caused it to be a little rough in this area, which I wanted to smooth out. I then put 1 coat of stain on, let it dry and then applied another coat. Once this coat was dried, this part was finished! Now time to get the pipes up on the walls!
Super easy to put the pipes up- they just all connect together. I had to measure of course the width of the wood and how much space between each bar I wanted but once I figured out those measurements I got to work!
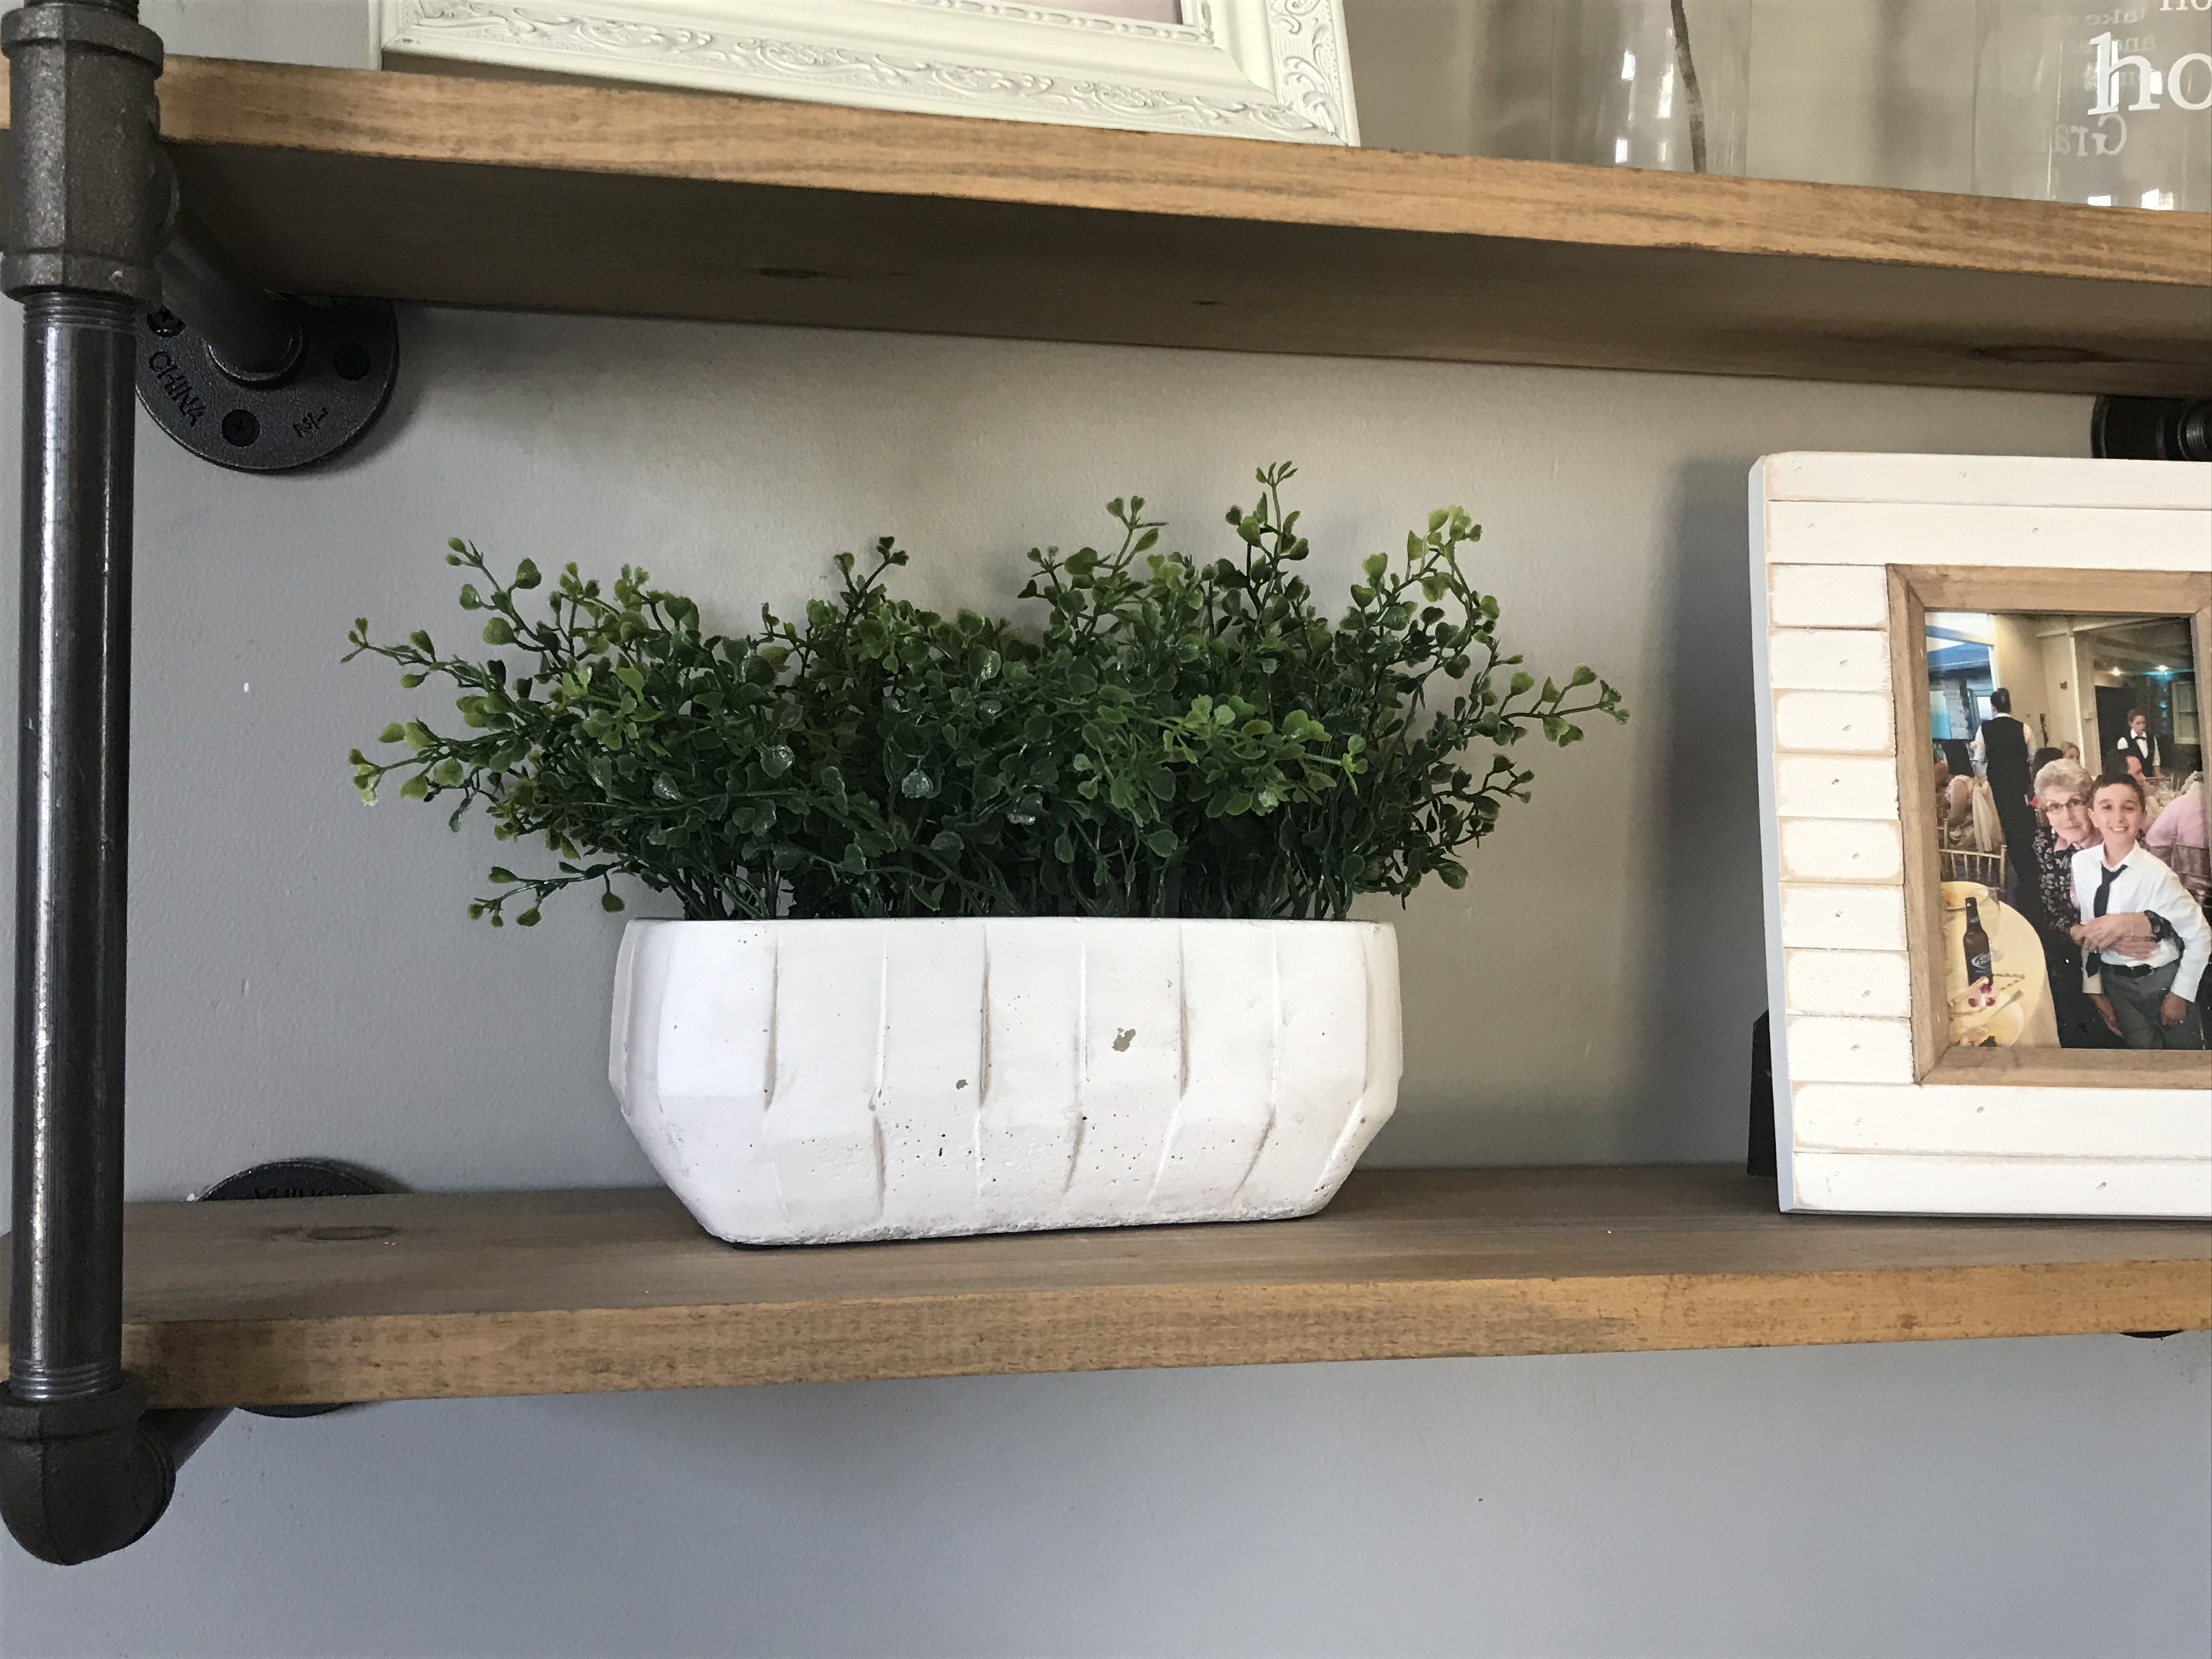
Last but not least I laid the shelves onto the pipes and added my decorations to the shelves. Like I said, so so easy to do! I was able to do everything on my own which was really rewarding. I thought that this was going to be difficult and once I got home with all of the materials I was a little nervous but it ended up being a piece of cake! Such a nice statement piece in our dining room which I get comments on often!
I look forward to sharing continued projects with you all in the weeks ahead!
